🦋💅Essential Top Rated Supplies You Need for Nail Art – Beginner’s Step-by-Step Guide
Welcome to The Girl Wears Art, where beauty meets creativity. ✨ In this guide, we’re diving into the essential, top-rated nail art supplies every beginner needs to transform at-home manicures into salon-worthy looks. These aren’t just tools — they’re high-value favorites loved by thousands, carefully chosen to give you lasting shine, precision, and confidence. 🎀 Many of them also make perfect gifts for friends, sisters, or anyone who loves self-care, turning simple beauty items into thoughtful surprises. Ready to explore your step-by-step journey into nail art? Let’s begin! 🌸
Disclosure : As an Amazon Associate, I earn from qualifying purchases. Thank you for supporting my nail-obsessed coffee habit! 💅
Why Nail Art Supplies Actually Matter
- Confidence Boost 👉 Fresh nails are basically instant serotonin.
- Budget-Friendly 👉 Skip the pricey salon trips. A good nail art starter kit pays for itself after one or two manis.
- Creative Expression 👉 Your nails are tiny canvases. Why not match them to your outfit, your mood, or your Starbucks order?
The Step-by-Step Beginner’s Nail Art Tutorial
Follow these steps in order, and you’ll not only learn what to buy but also how to use it.
Step 1 — Prep: The Foundation of a Lasting Manicure
Think of this as skincare for your nails: skip it, and everything else falls apart.
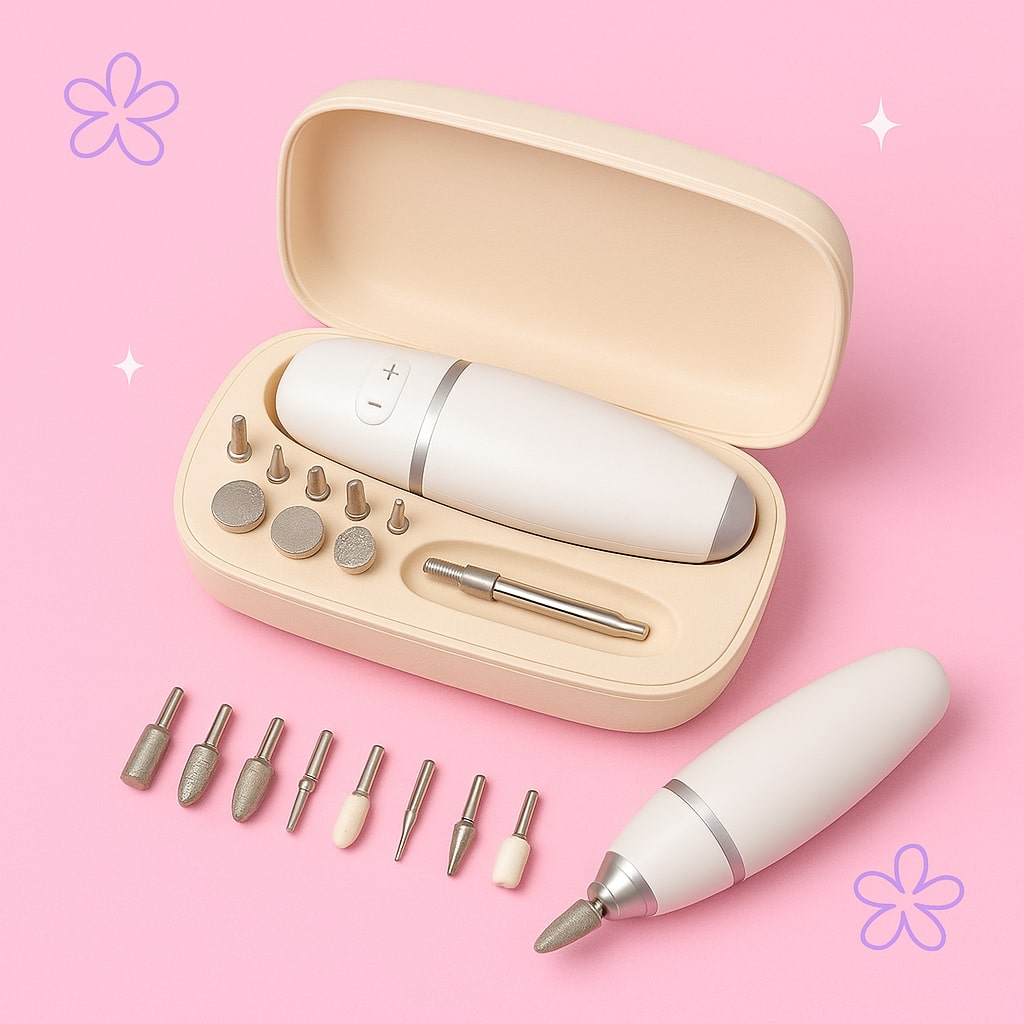
What you need: Nail file, buffer block, cuticle pusher/trimmer
Our Top Pick 👉 Beurer Professional Manicure & Pedicure Kit
💬 Review highlight: “Salon quality at home — my nails have never looked better.”
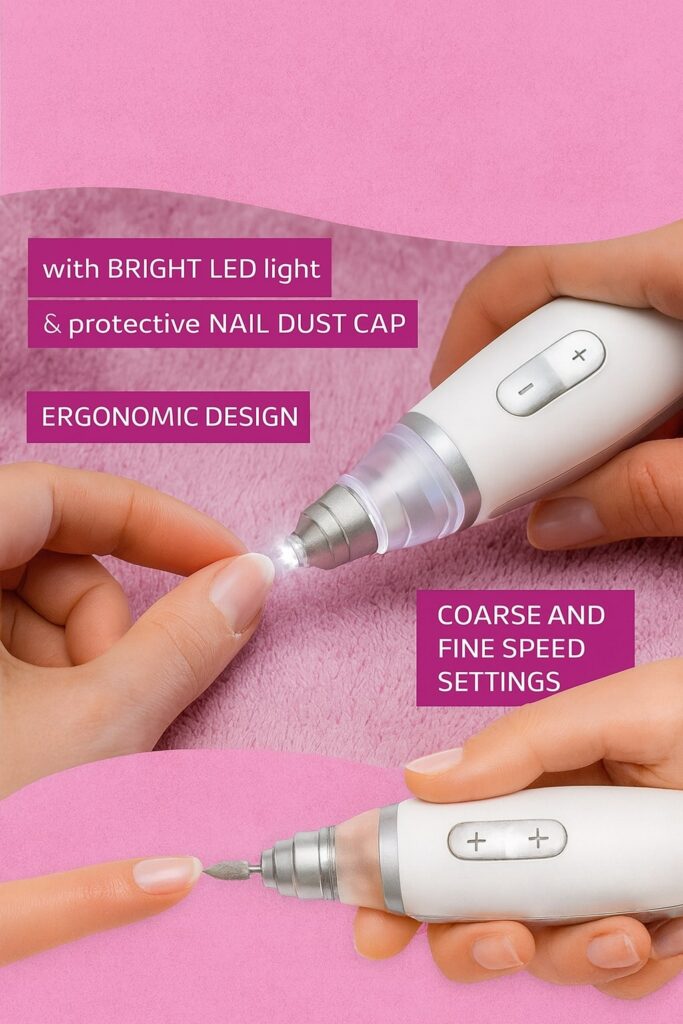
How to use 👇
- Remove old polish with remover pads.
- Trim & file nails to your shape (file in one direction to avoid splits).
- Buff lightly to smooth ridges.
- Gently push back cuticles.
- Wash hands and dry thoroughly.
Link to buy : Beurer Professional Manicure & Pedicure Kit
Why it’s worth buying 👉 A well-prepped base = longer-lasting polish. Kits like this give you pro-level results at home.
They’re especially popular for at-home spa days or when you want your manicure to look fresh for special occasions.
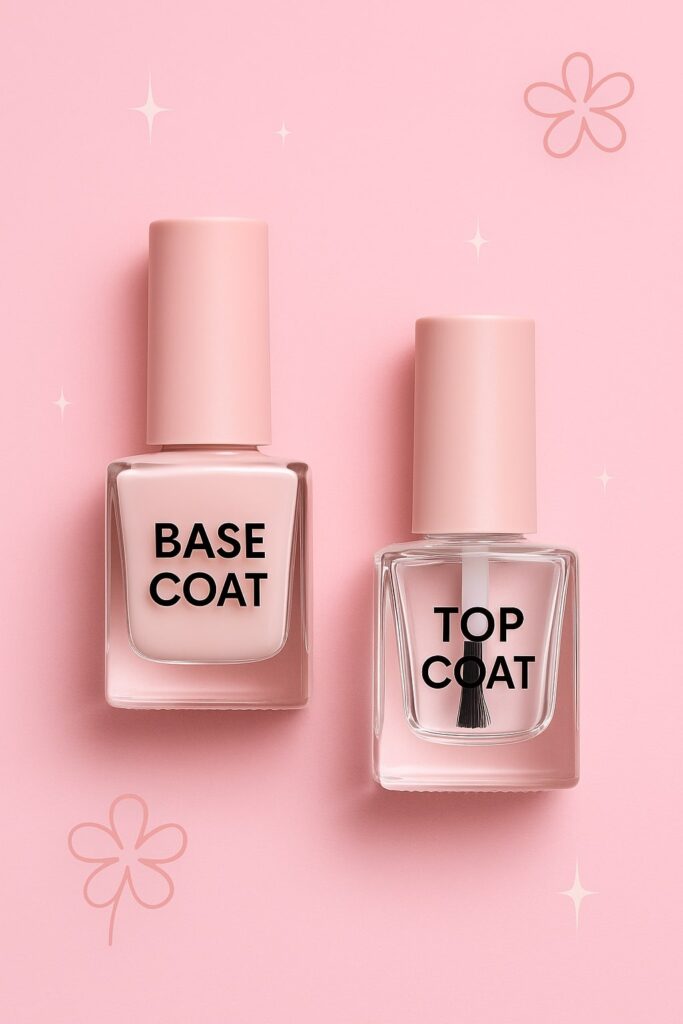
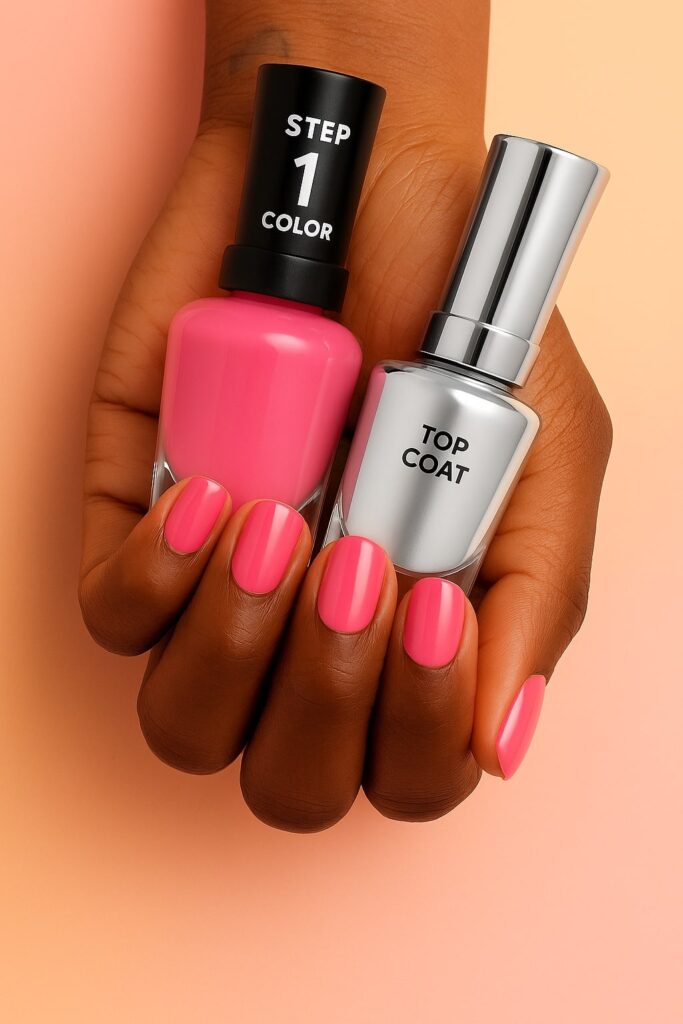
Step 2 — Base Coat: The Unsung Hero
Skipping this step is like leaving your house without SPF — technically doable, but a regret waiting to happen.
What you need: A high-quality base coat
Our Top Pick 👉Modelones Super Shiny Base and Top Coat Set
💬 Review highlight: “My manicure lasted over a week without chips. Game-changer!”
How to use 👇
- Apply a thin coat of the base coat after prepping nails.
- Let it dry completely.
- Apply your favorite color polish (optional).
- Seal it with the top coat for long-lasting shine & protection.
Link to buy : Modelones Super Shiny Base and Top Coat Set
Why It’s Worth Buying 👉 Protects nails + makes polish last.
This popular pick is loved for helping polish glide on smoothly and stay chip-free for days.
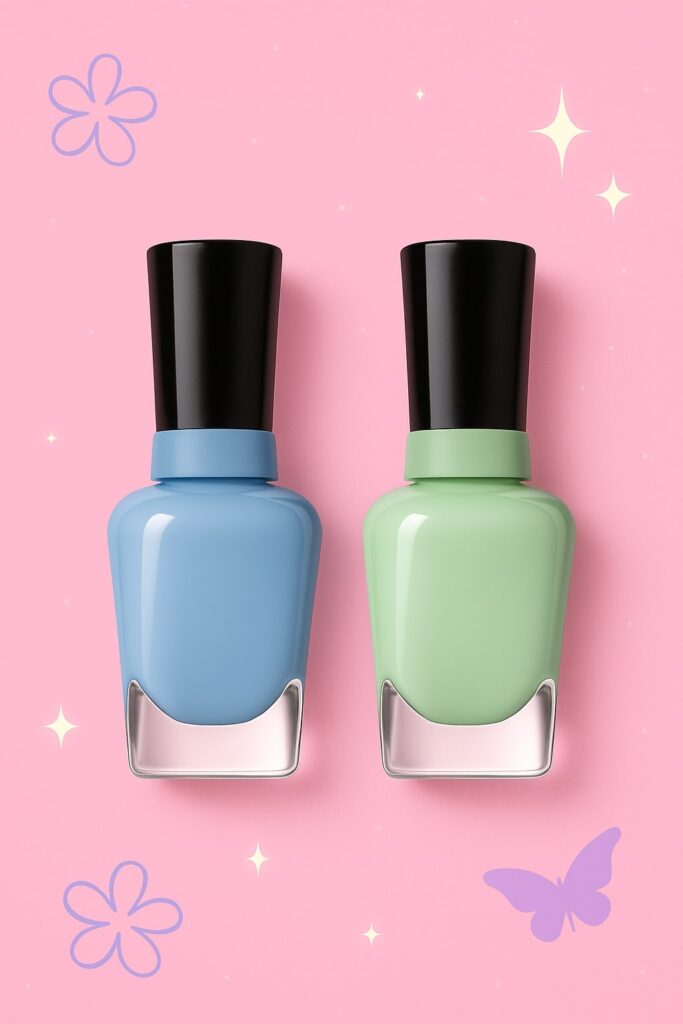
Step 3 — Color: Time to Paint Like a Pro
Now the fun part: picking your shades.
What you need : A curated polish set with neutral + bold shades
Our Top Pick 👉 Sally Hansen Miracle Gel Nail Polish Set
💬 Review highlight: “Great colors, lasts longer than regular polish. Perfect for beginners!”
How to use 👇
- Apply polish in thin layers — 3 strokes per nail.
- Let dry for 60–90 seconds or cure each layer under a lamp if it’s gel.
- Two thin coats > one thick coat (less chipping).
Link to buy : Sally Hansen Miracle Gel Nail Polish Set
Why it’s worth buying 👉 A mix of bold and neutral shades that fit every vibe. Starter sets offer high-quality formulas and on-trend colors for effortless at-home manicures.
These shades are a favorite for matching seasonal trends and creating mood-based looks all year round.
Step 4 — UV/LED Lamp: The Fast-Dry Miracle
If you’re using gel, this is your new BFF.
What you need: A reliable curing lamp
Our Top Pick 👉 SUNUV UV LED Nail Lamp
💬 Review highlight: “Professional results at home. Cuts drying time in half!”
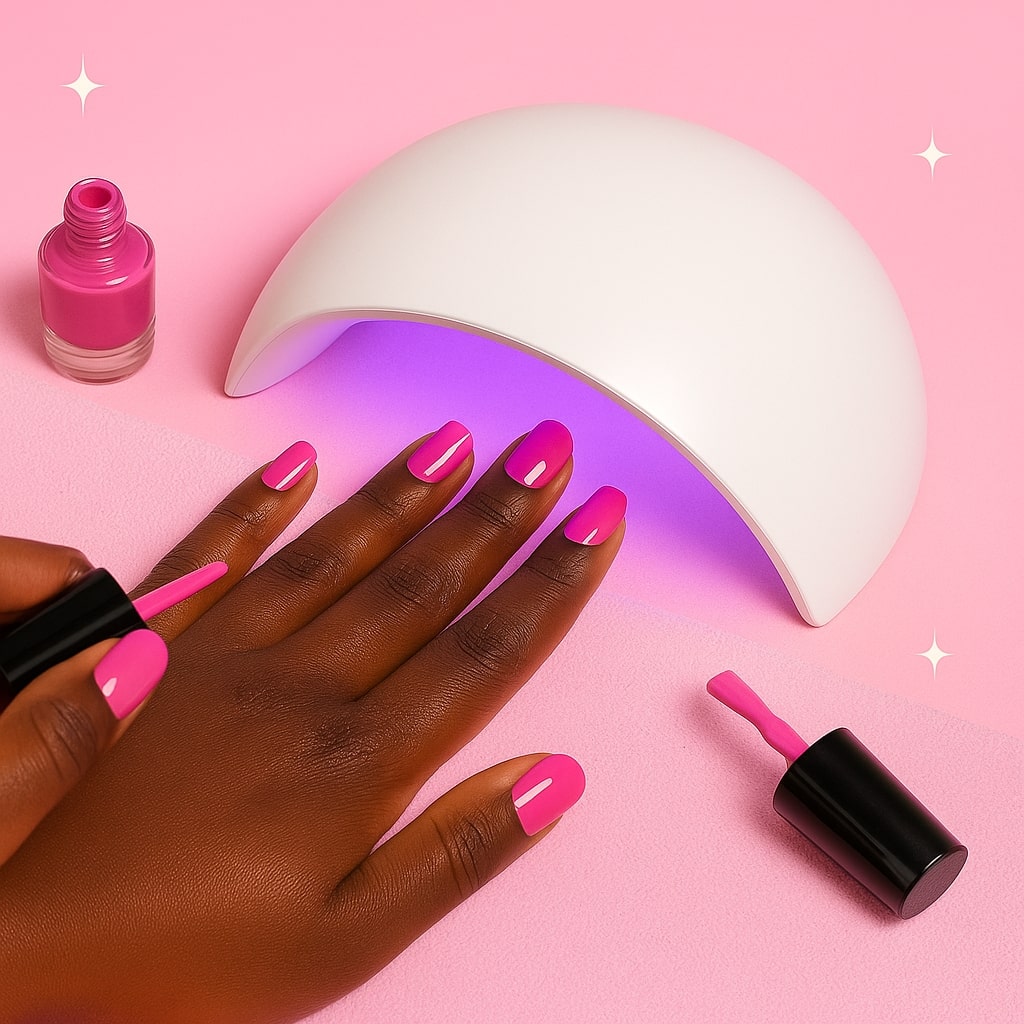
How to use 👇
- Cure base coat (30–60 seconds).
- Cure each polish coat as directed.
- Cure top coat last for a glossy finish.
Link to buy : SUNUV UV LED Nail Lamp
Why It’s Worth Buying 👉 No smudges. No waiting. Just glossy perfection. Delivers salon-level shine right at home.
A go-to pick for flawless gel cures — helps your polish dry evenly and last longer without smudges.
Step 5 — Brushes & Dotting Tools: Beginner-Friendly Creativity
Even if your “art skills” peaked in middle school, these tools make you look professional.
What you need: A brush + dotting tool set
Our Top Pick 👉 Beetles Nail Art Brushes & Dotting Tool Set
💬 Review highlight: “Super beginner-friendly, and the brushes don’t shed!”
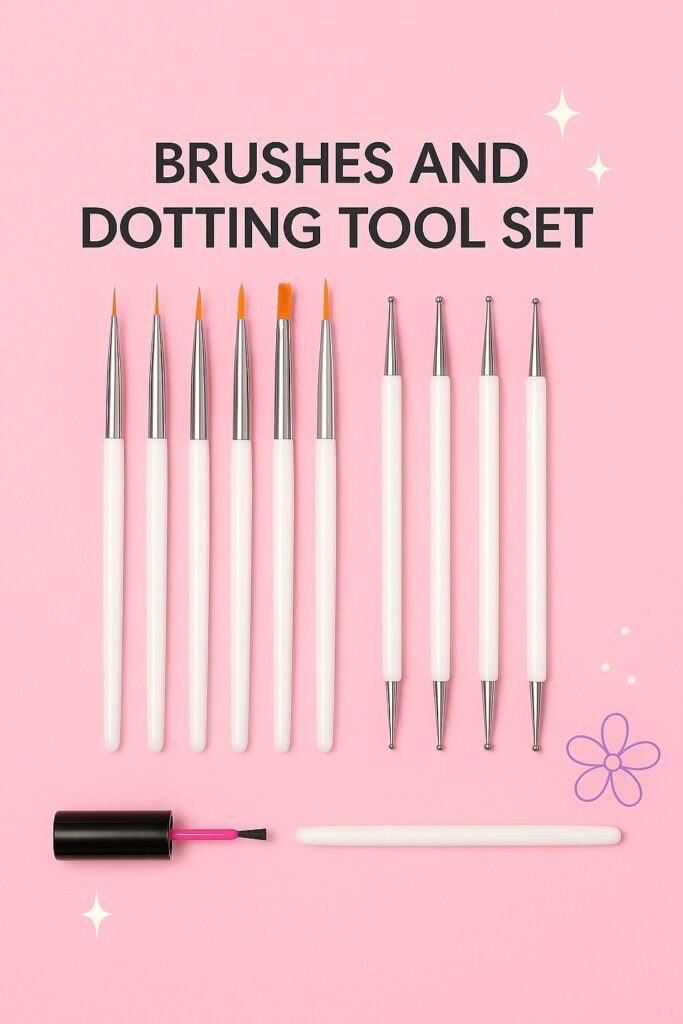
How to use 👇
- Polka dots: Dip and dot.
- Stripes: Steady sweep with a thin brush.
- Accent nail: A tiny heart or stripe = instant wow factor.
Link to buy : Beetles Nail Art Brushes & Dotting Tool Set
Why it’s worth buying 👉 You unlock dozens of design possibilities with just one versatile tool set.
A great budget-friendly set for experimenting with new nail art styles and mastering detailed designs.
Step 6 — Stickers, Foils & Rhinestones: Instant Glam
Not ready for freehand art? Stickers have your back.
What you need: A bundle of foils, stickers, and rhinestones
Our Top Pick👉 Kalolary Nail Stickers & Foil Bundle
💬 Review highlight: “So many designs to choose from. They last surprisingly long with a top coat!”
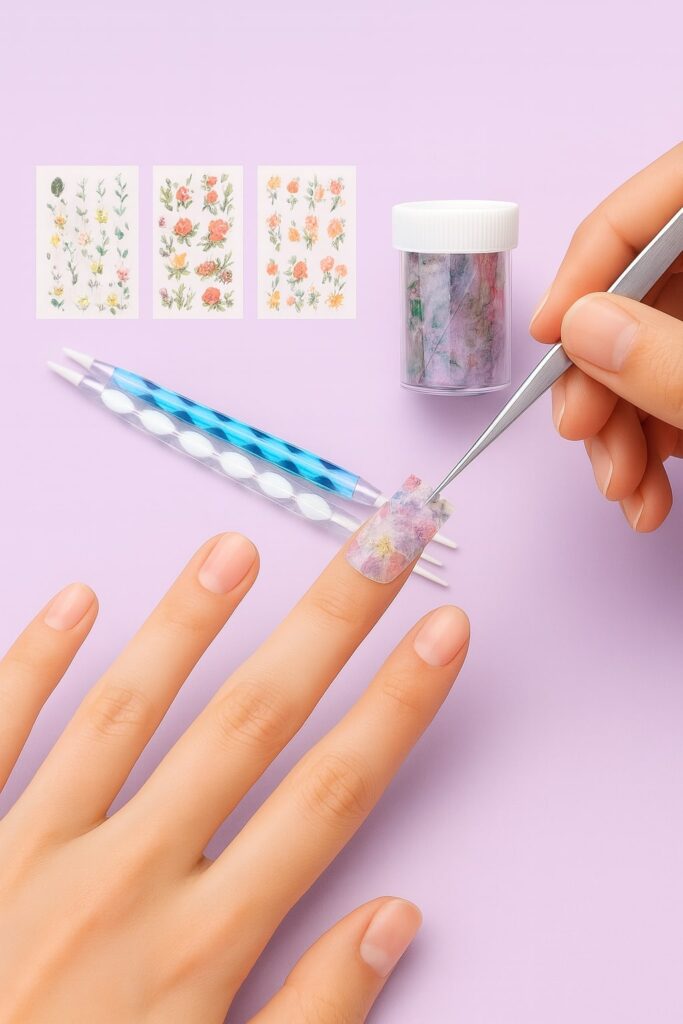
How to use 👇
- Apply stickers or foils over polish, seal with top coat.
- Place rhinestones with a dotting tool, secure with gel glue, cure if needed.
Link to buy : Kalolary Nail Stickers & Foil Bundle
Why it’s worth buying 👉 With 100+ designs to mix and match, you can create endless nail looks without the hassle of salon appointments.
These sticker sets are loved for how easily they transform a simple manicure into something fun and creative — perfect for any season or occasion.
Step 7 — Top Coat: Seal It & Shine
The finishing touch — like highlighter for your nails.
What you need: A glossy top coat
Our Top Pick 👉 Modelones Super Shiny Base and Top Coat Set
💬 Review highlight: “My manicure lasted over a week without chips. Game-changer!”

How to use 👇
- Apply a thin coat of the base coat after prepping nails.
- Let it dry completely.
- Apply your favorite color polish (optional).
- Seal it with the top coat for long-lasting shine & protection.
Link to buy : Modelones Super Shiny Base and Top Coat Set
Why It’s Worth Buying 👉 Protects nails + makes polish last.
This popular pick is loved for helping polish glide on smoothly and stay chip-free for days.
Step 8 — Cleanup & Remover: Because Nobody’s Perfect
Polish on your skin? We’ve all been there
What you need : Acetone-free remover pads or a corrector pen
Our Top Pick 👉 Pronto Acetone-Free Nail Polish Remover Pads
💬 Review highlight: “Gentle on nails, removes polish quickly, and travel-friendly.”
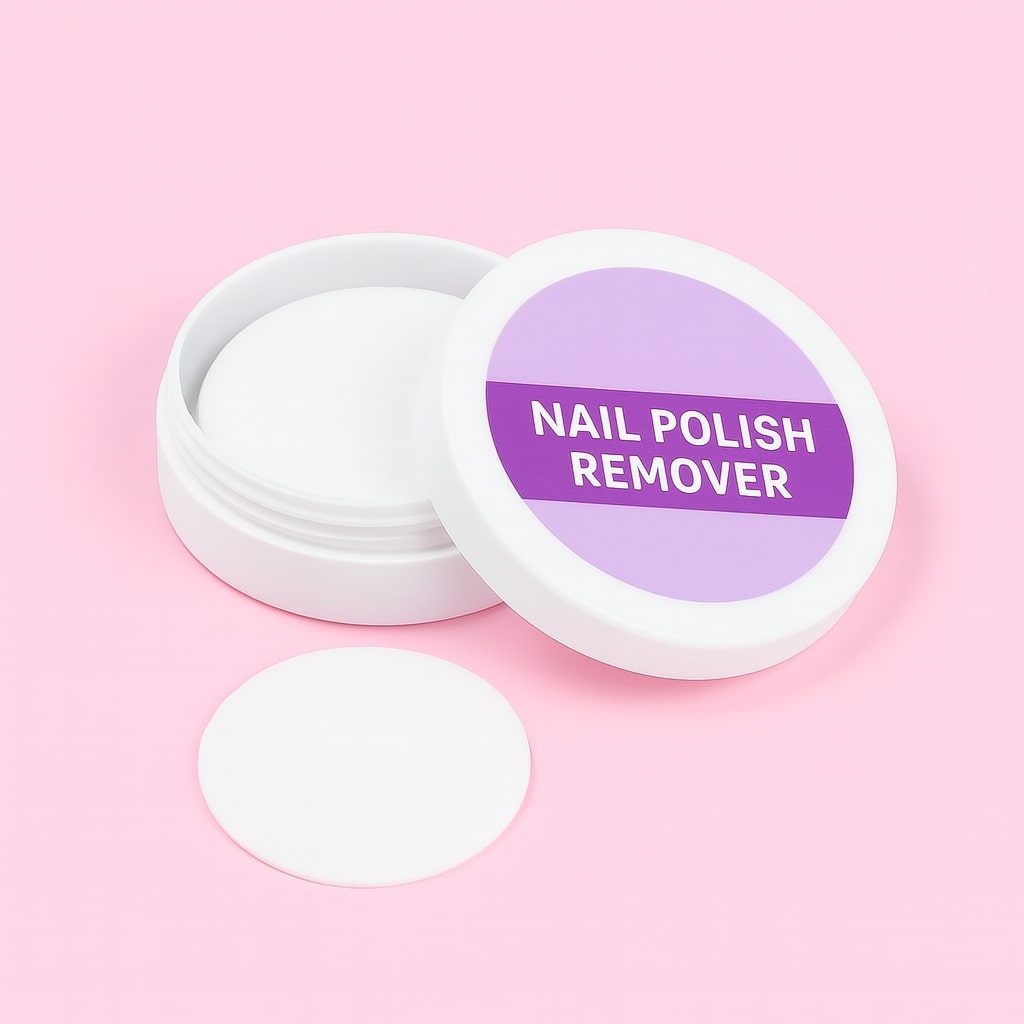
How to use 👇
- Neaten edges with a corrector brush.
- For gel removal, follow soak-off instructions.
Link to buy : Pronto Acetone-Free Nail Polish Remover Pads
Why it’s worth buying 👉 Cleans up polish easily without leaving your nails feeling dry or brittle.
Perfect for busy days or quick polish changes — especially when you need a mess-free refresh on the go.
Ready to Nail It?
Your nails aren’t just nails — they’re mini accessories, your mood board, your personal style statement. With these essential top rated nail art supplies, you’ll go from “nervous beginner” to “confident creator” in just a few tries, plus they double as pretty great gifting options for family or friends. So go ahead: click, cart, and create !
By next week, you’ll be the one your friends ask, “Where did you get your nails done?”
Spoiler: you’ll just smile and say, “Oh, these? I did them myself.” 💅
FAQ: Nail Art Supplies for Beginners
Q: What are the must-have nail art supplies for beginners?
A: A manicure kit, base & top coat, a gel polish set, UV/LED lamp, and brushes. Stickers and foils are optional but fun.
Q: Gel vs. regular polish — which is better for beginners?
A: Gel lasts longer (up to 2 weeks) but needs a lamp. Regular polish is easier but chips sooner. Many beginners start with gel sets for better value.
Q: Are nail art kits worth it?
A: Yes! A full kit pays for itself after 2–3 DIY manis compared to salon visits.
Q: Can these supplies be good gifts?
A: Absolutely. A nail lamp or polish set makes a perfect birthday, holiday, or prom-season gift for anyone who loves beauty.
Q: How do I make my manicure last longer?
A: Proper prep (cuticle care, buffing), using a base coat, thin polish layers, curing under a lamp, and sealing with a top coat.
About the Author
Written by The Girl Wears Art — a fashion & beauty writer obsessed with nail art trends and helping beginners discover their creative style.
💖 Loved these nail must-haves? Let’s keep the glam going! 🌸🦋 Follow me on Pinterest for more outfit inspo, nail art trends, and beauty finds you’ll want to add straight to your cart. 🛍️And don’t forget to share this with your friends and family so they can grab these must-have essentials too!